How to set up Astro proxy with ixBrowser
What is Astro?
Astro provides a robust infrastructure of geo-targeted proxies designed for ethical data collection. Adhering to KYC/AML policies, Astro is trusted by finance companies, social media marketing (SMM) and SEO agencies, market research firms, e-commerce projects, and more. It offers high-quality residential and mobile proxies, along with whitelisted datacenter IPs.
Key features of Astro include:
○A pool of over 2 million proxies from 100+ countries, with rotation options that allow you to change IPs per request, on a timer, or via links;
○Flexible and reasonable pricing models, including pay-as-you-go and prepaid packages ranging from 100 MB to 300 GB. Prices start at $3.65 per GB;
○99% network uptime and full compliance, ensured through manual checks and AI-driven monitoring
○Support for HTTP(S) and SOCKS5 protocols, which are seamlessly interchangeable and compatible with VPNs.
○A RevShare referral program that offers users an opportunity to earn passive income
○A wide array of supported payment methods, including credit cards, e-wallets, and cryptocurrencies
If you want to know more about Astro, click here!
How to setup Astro with ixBrowser? (Astro 10% coupon code “ixBrowser10”)
Step 1: register an account, download and log in to ixBrowser;
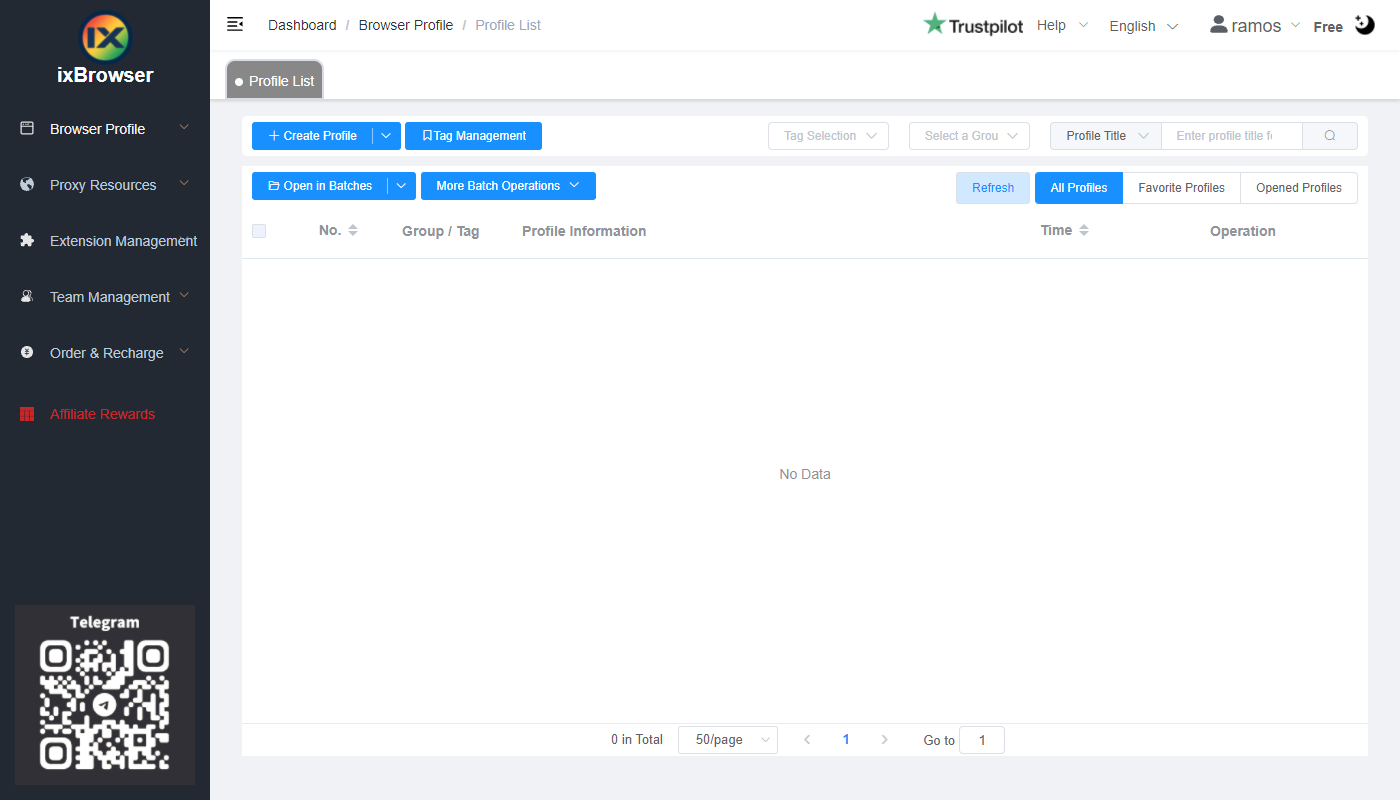
Step 2: click “Create Profile”, select platform and group, enter profile title, and click “Next Step”;

Step 3: before we configure the proxy, we need to first go to Astro dashboard to get proxy info;
In the dashboard, you need to top up balance first; (you can check the price of Astro proxies here)
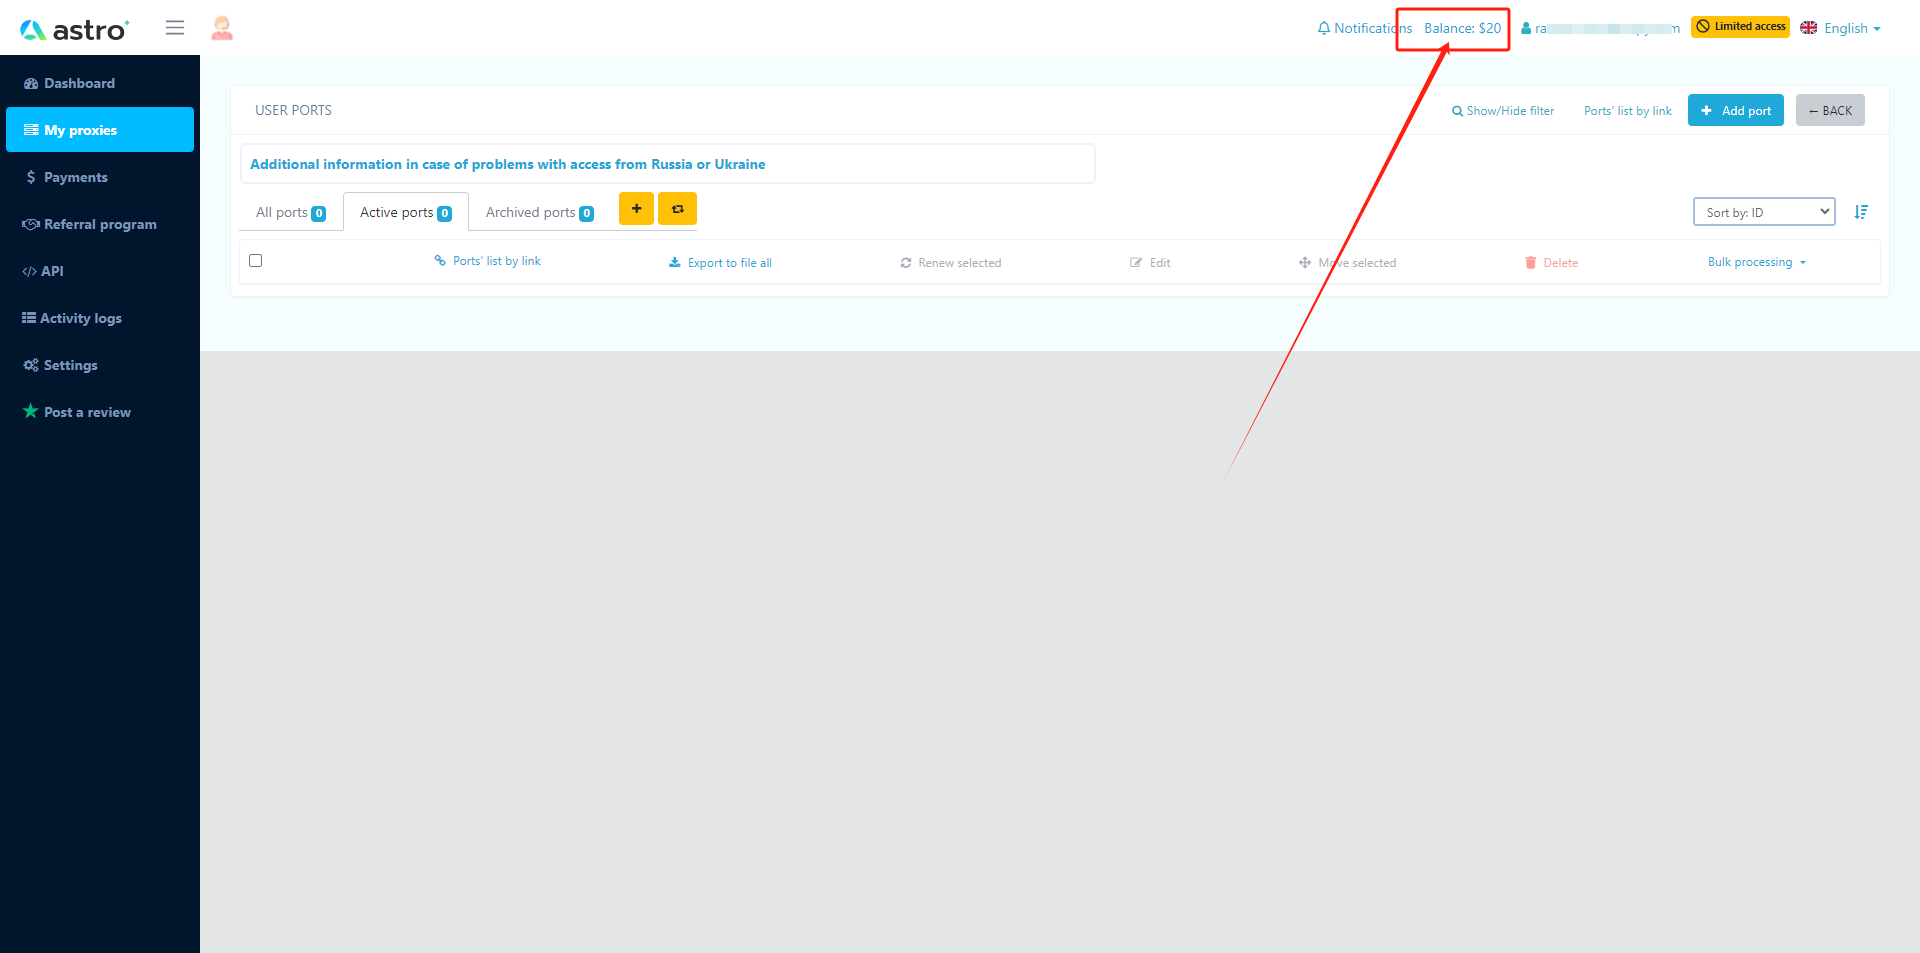
Then, click add port button, in the pop up page, set the port options as you need and click save;

When the page refreshes, you will see the proxy you purchased and its information in the list;

Step 4: now, go back to ixBrowser, in Proxy Configuration page, choose the proxy method to “Custom”, and choose proxy type to Socks5 (you can also select HTTP(S), it depends on what connection type you choose in Astro)

Copy the proxy credentials from Astro, and paste it into ixBrowser;


Click proxy detection, once is passed, you can click “Create” button to finish the profile creation (if you want to modify the fingerprint, you can go to Fingerprint Configuration page and make modification);

Step 5: in proxy list, find the profile you just created, click “Open” button, and you can start using it!


